¶ Loaner Laptops
¶ Acer Swift
¶ Specs
- Acer Swift SF113-31
- Intel Pentium N4200 (4 cores, 1.10Ghz)
- 4GB RAM
- Intel HD Graphics 505
- 64GB eMMC
- Intel 7265 AC Wireless
- Ports
- HDMI
- 2x USB-A 3.0
- 1x USB-A 2.0
- 1x USB-C 3.0
- 3.5mm Headphone Jack
- Full Size SD Card Slot.
¶ Software
- PopOS! 22.04 (Ubuntu-based distro)
- Chromium Browser
- Firefox
- Slack
- 3D Printing
- Cura
- Prusa
- Development
- Visual Studio Code
- Electronics
- Arduino IDE
- KiCAD
- Fritzing
- Graphics
- Inkscape
- GIMP
¶ Disks
There is a 64GB eMMC disk on these laptops. The disk contains the following paritions:
- EFI Boot (FAT)
- RootFS (Ext4)
- Recovery Partition (Ext4)
- Swap
¶ Notes
User: ctrlh
Password: Ask in Slack
Wireless should be setup automatically. Secure boot is disabled by default. The BIOS password, if set, is ctrlh.
¶ Acer C720 Chromebook
¶ Specs
- CPU: Haswell Celeron 2995U. 1.4GHz, dual-core, 2MB Cache
- RAM: 2GiB or 4GiB DDR3 (Not upgradeable)
- Display: 11.6" TN 1366x768. 220 nits.
- Disk: 16GB SSD (NGFF M.2 connector)
- I/O:
- HDMI port
- 1 x USB 2, 1 x USB 3
- SD slot (SDXC compatible)
- Headphone/mic combo jack
- Camera & mic
- Keyboard & touchpad
- Connectivity:
- WiFi: 802.11 a/b/g/n
- Kensington Security Slot
¶ Software
- GalliumOS 3.1 (Ubuntu 18.04 Bionic based)
- Chromium Browser
- Firefox
- Slack
- 3D Printing
- Cura
- Prusa
- Development
- Visual Studio Code
- Electronics
- Arduino IDE
- KiCAD
- Fritzing
- Graphics
- Inkscape
- GIMP
¶ Disks
¶ Imaging
¶ Acer C720 Chromebook
- Plugin the Imaging USB Stick and boot the Chromebook.
- Should automatically boot from the USB drive, but you can hit Esc to go into the BIOS if you need to change the boot order.
- The USB drive contains a GParted LiveCD and a partition with the disk image. Select the first option.
- Press Enter several times to boot with the defaults.
- Once booted to the GUI, open up the Terminal. For our purposes, /dev/sda is the Chromebook SSD and /dev/sdb is our LiveUSB disk.
- Validate which partition is the data drive. It will be the larger of the two formatted in ext4.
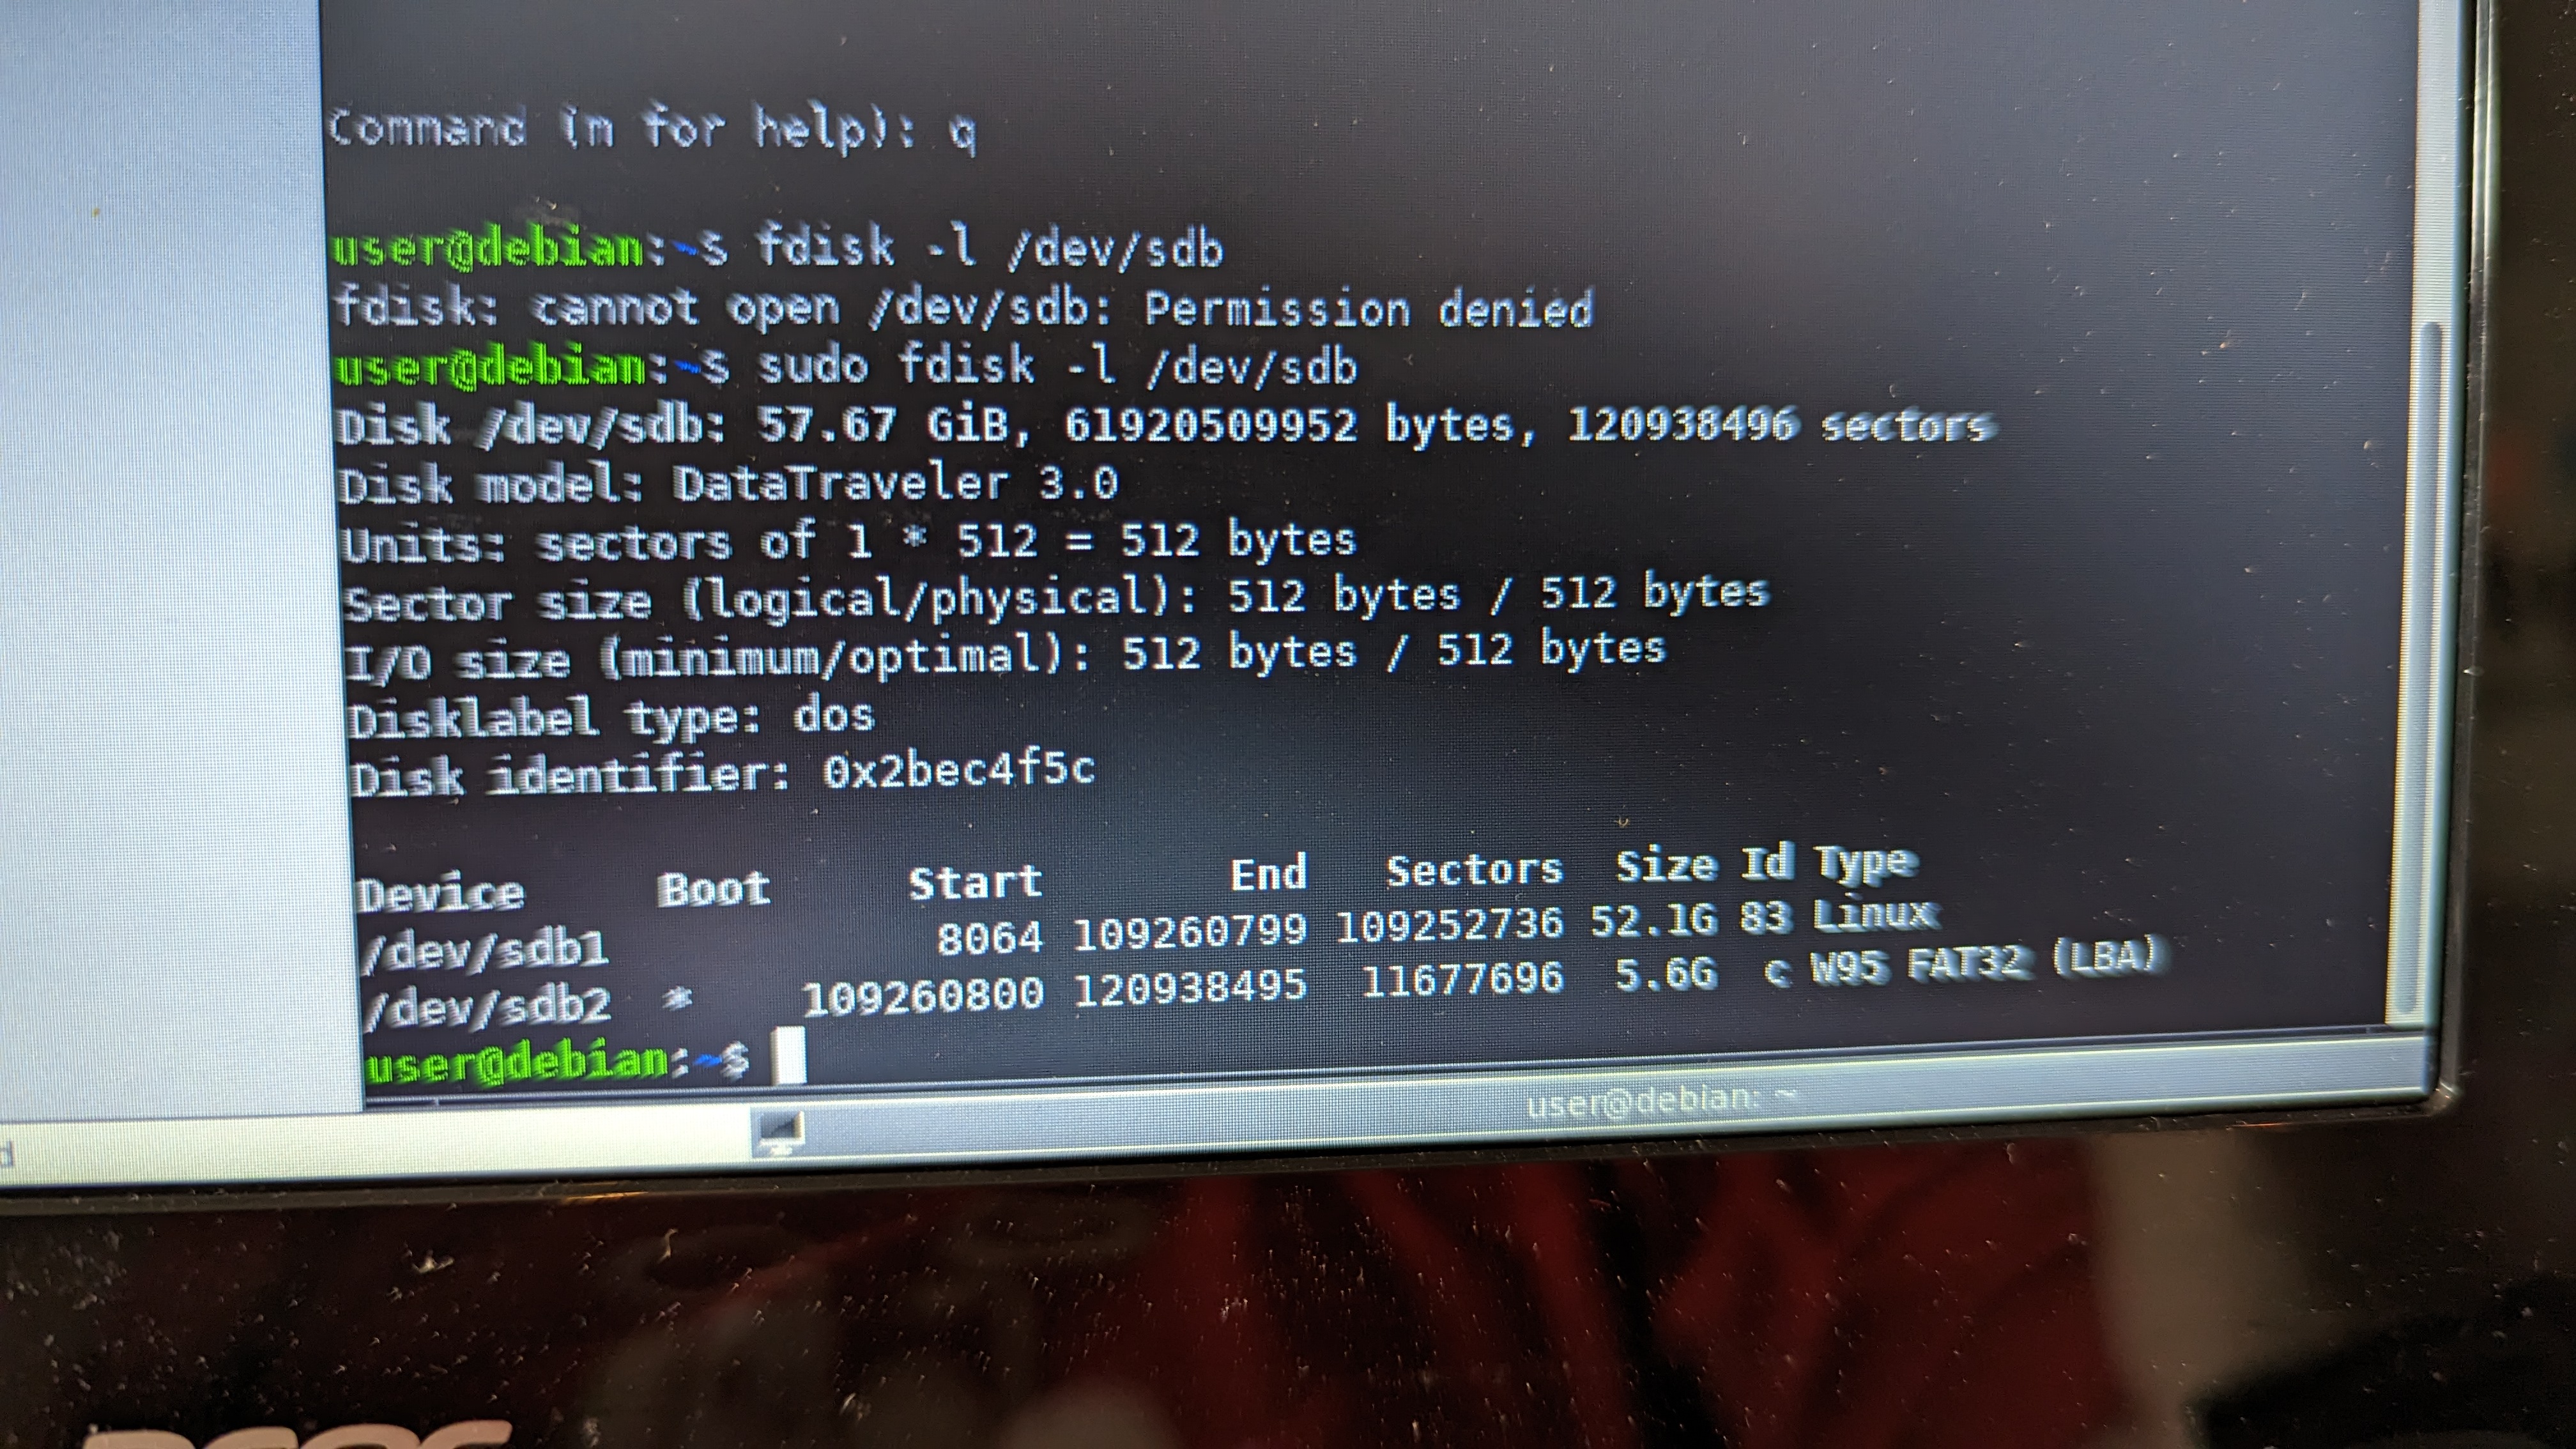
- Mount the data drive containing the image
mkdir /tmp/usbsudo mount /dev/sdb1 /tmp/usb
- Write the image file to the Chromebook SSD
sudo dd if=/tmp/usb/AcerC720.img of=/dev/sda bs=1M status=progress- The imaging will take about 8-10 minutes.
- Once the imaging is complete, press the power button and shut the Chromebook down.
- Power the Chromebook back up. It should automatically boot into the image and into GalliumOS.
- Once booted, modify the laptop hostname to a unique name. Our convention for these laptops is
ctrlh-loaner-cxxwhere xx is a number. - Connect the laptop to the CTRLH Wifi.
- Shutdown and return the Chromebook to the storage box.
¶ How to create a USB-PD Power Adapter
TODO