We have five Prusa MK4S printers and one Prusa XLin the front of Section Two.
Prusa MK4S specs:
- build volume of 255 x 210 x 220 mm
- 1.75mm filament
- changeable nozzle - default is 0.4mm
- automatic bed leveling
- satin steel sheet or powder coated spring steel sheet
Prusa XL specs:
- build volume of 360 x 360 x 360 mm
- 1.75mm filament
- changeable nozzle - default is 0.4mm
- automatic bed leveling
- 5 toolheads for using different colors and types of filament in a single print
- satin steel sheet or powder coated spring steel sheet
Some tips:
- Don't SPEED print on the Prusa XL machine. Use the default settings and prints should just work
- If you print TPU, please make sure to make it SHORE 80 or harder - think shoe rubber, not rubber band
- Nozzle on Extruder Tool #1 is worn.. it's a bit larger than 0.42 ( ~0.46 ) so it will eventually need changing
- Stepper on Extruder Tool #1 is weaker than it should be. Replacement expected to arrive 9/1-9/5
Check out the 3D Printing Overview to get started. Ask questions an slack at #3dprinting. Jobs can be monitored on #3d-printer-jobs and at https://printers.pdxhackerspace.org/.
¶ Slicing
To slice your models, you'll want to use Prusa Slicer from Prusa's web site.
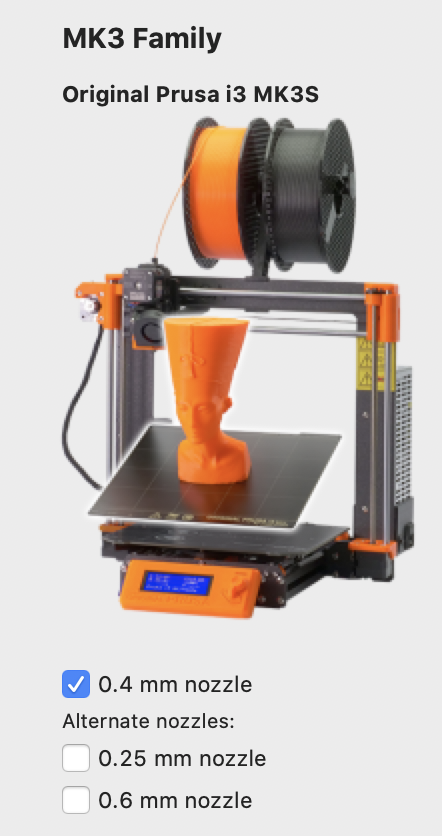
Select "Original Prusa MK4" with "0.4mm nozzle" when you first run Prusa Slicer.
Be sure to slice using the type of filament that's loaded in the printer. This will usually be PETG. You should be able to use the printer and filament defaults with PETG.
¶ Printing

First, make sure the printer's bed is cleared - there should be no prints or debris on it.
You may want to clean the bed with isopropyl alcohol - there are usually white bottles of it near the solder stations in the electronics lab. Put a little on a tissue and rub the bed with it. Skin oil can cause prints to not adhere well to the bed.
Please do not use acetone or similar compounds on the print bed; they can damage it.
With PETG you should not need to use glue stick or other techniques to improve adhesion. The first layer of your PETG print should stick well to the textured steel spring bed on its own. If you have problems with first layer adhesion, try re-slicing with a higher first layer bed temperature under Filament Settings.
To print, export your model as a .gcode file.
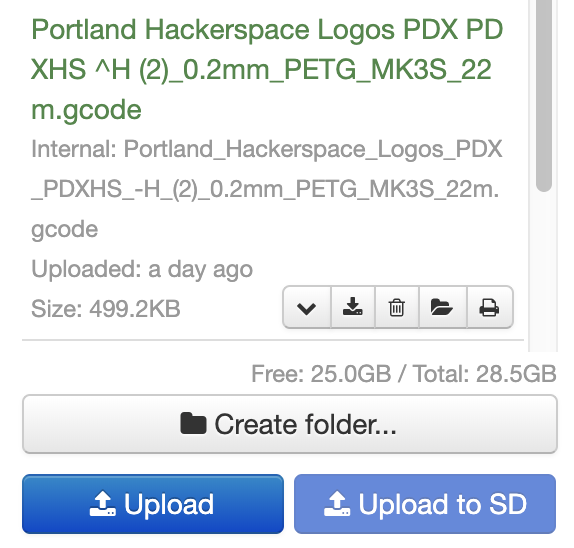
Then upload your .gcode file to Octoprint.
First, visit http://prusa-1.ctrlh or http://prusa-2.ctrlh or http://prusa-3.ctrlh in a web browser.
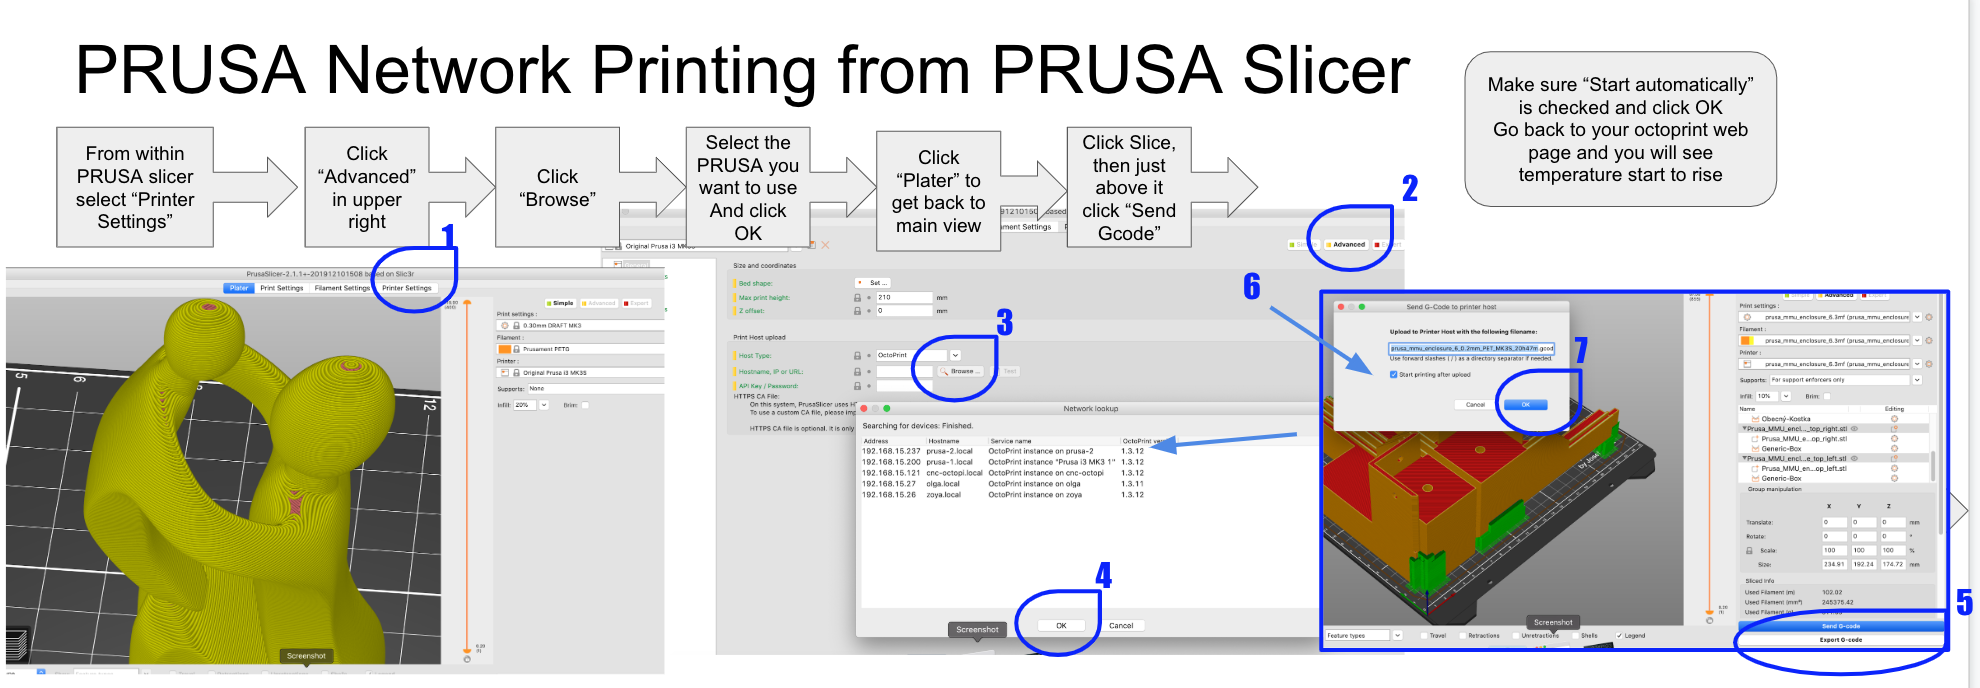
¶ Automatic printing from within PRUSA slicer
¶ Slightly more manual technique
When you click "slice" save the model to a file
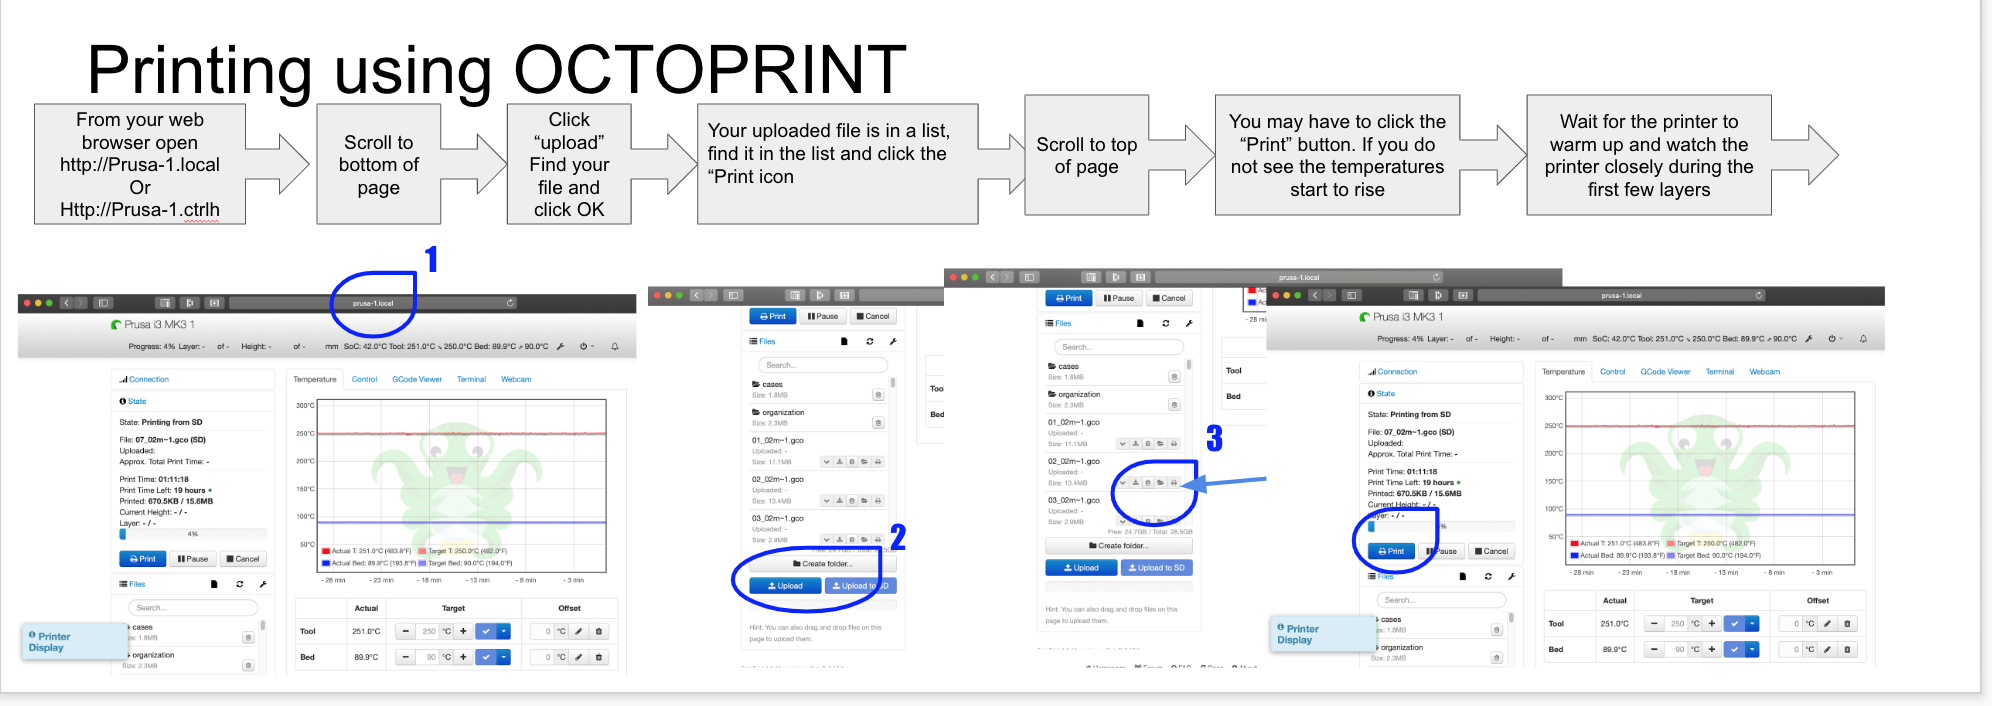
Then go to back to your octoprint webpage
Upload your gcode file by clicking the "Upload" button. Once your gcode file is uploaded, click the small printer icon under the filename in order to start the print.
Please stay and make sure that the start of your print works. If you need to cancel it, use the "Cancel" button on Octoprint.